With Easter just around the corner, what better time to dust off the craft box and enjoy a fun springtime activity at home with your little ones? Say hello to Cotswolds-based crochet designer Lindsey Newns. The face behind Lottie and Albert, Lindsey loves designing colourful crafts, and she's created a cute Easter-themed project that you and your children can make together.
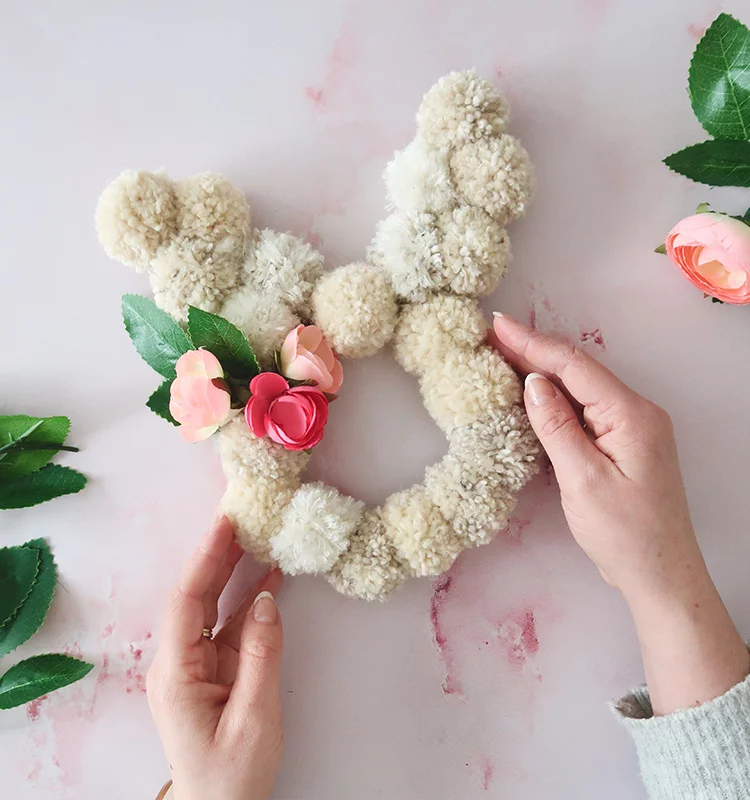
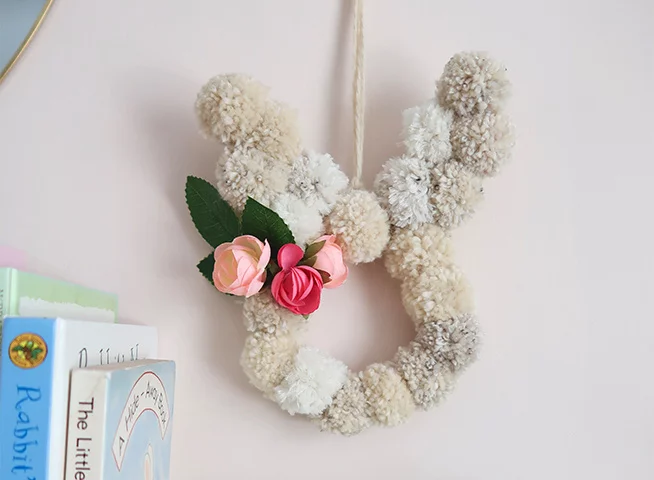
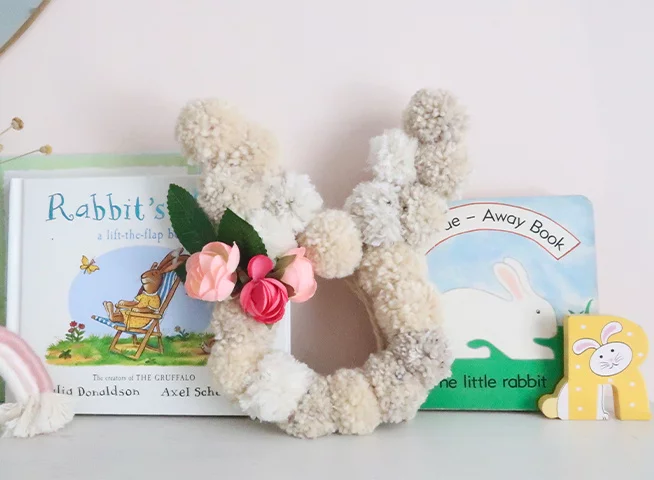
"Is it even Easter if you haven’t got some bunny-themed decor? This bunny wreath is a little bit of fun, and easy enough to make that small folk can get in on the action too," says Lindsey. "Create the bunny shape out of wire, make and add your pom-poms, and then hang it up or place it on your shelf for everyone to admire the fluffiness of your creation."
All images by @lottieandalbert
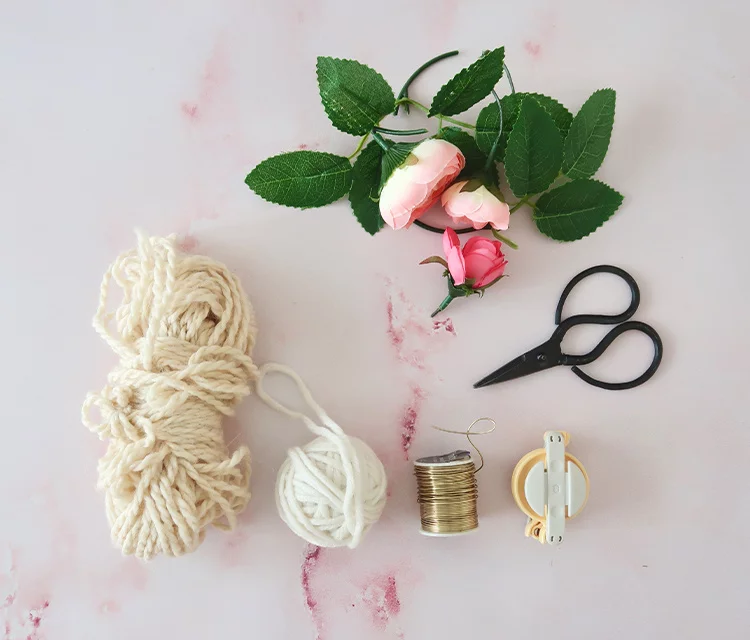
You will need:
- 2 m of wire (I used Trimits Beading Wire, 20 Gauge)
- 4.5 cm pom-pom maker (I recommend Clover pom-pom makers)
- Strong scissors to cut the wire
- Around 50 g of cream or white yarn in aran or chunky weight
- Two to three fake or dried flowers and foliage
- Our printable bunny shape template
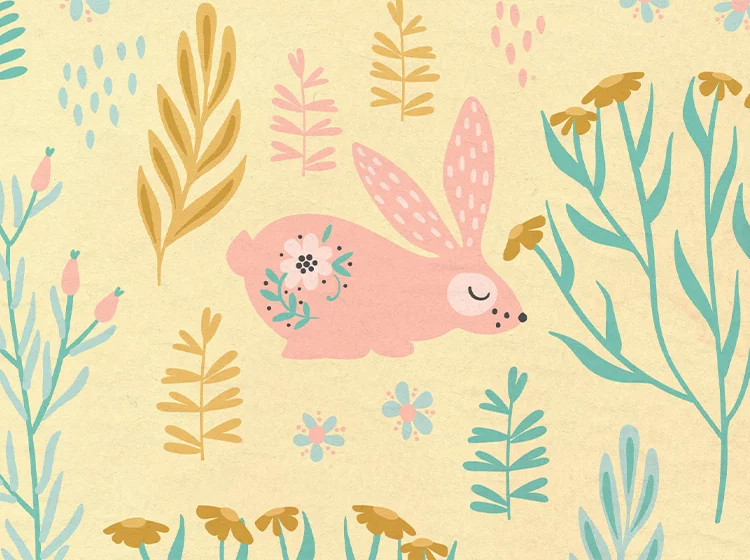
Bunny Wreath Template
DownloadStep 1
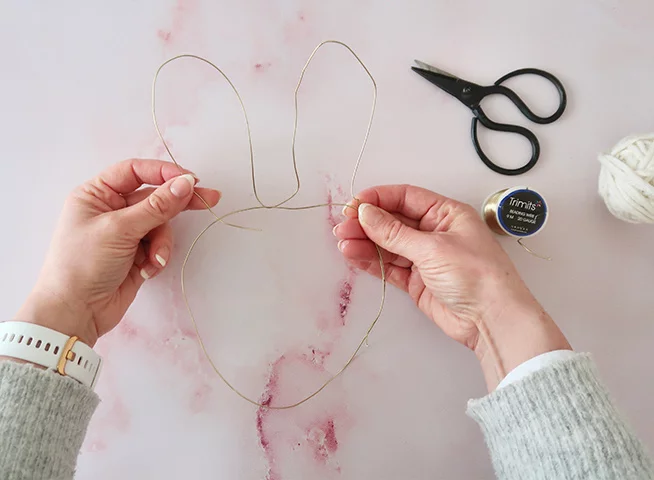
Cut 1 m length of wire and, using the template above, curve it into a bunny head shape. Don’t worry if it looks a bit wobbly at this stage! Curve the end closest to the ear over a little bit, but leave the other end straight.
Step 2
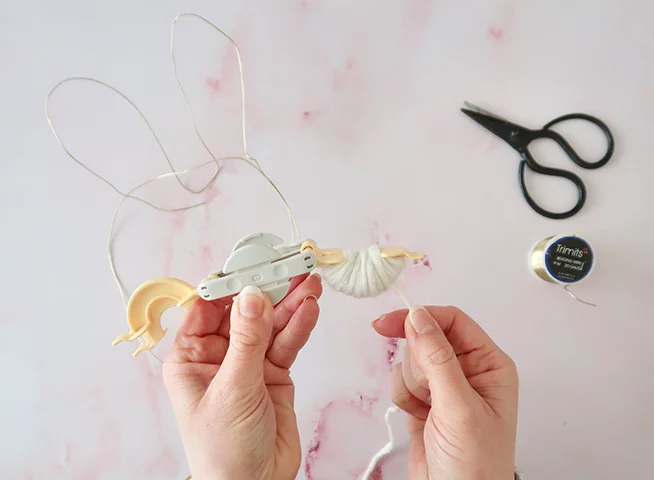
Open out the arms of your pom-pom maker and tightly wrap around one side with yarn, until the semi-circle is filled with yarn and flat on top. Close this side, then repeat for the other side of the pom-pom maker.
To make your pom-poms even faster, wrap with several strands of yarn at once. Or you can buy ready-made pom-poms!
Step 3
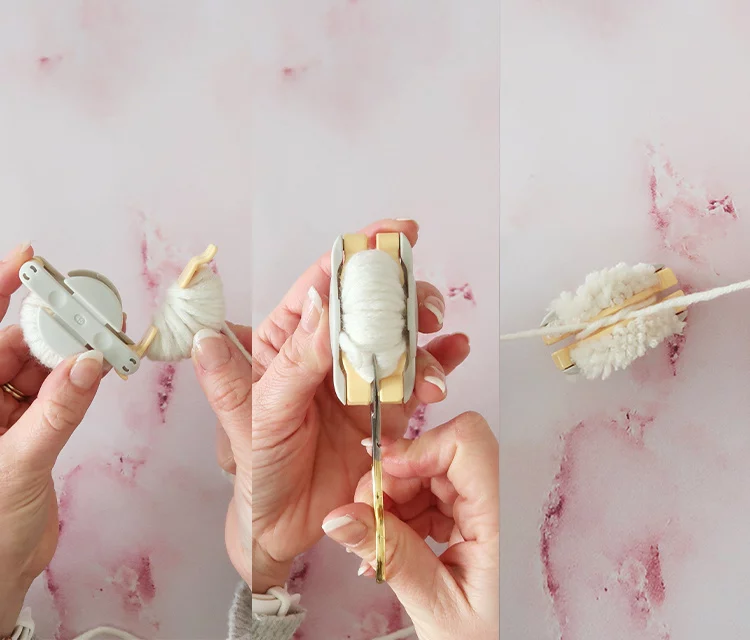
Close the pom-pom maker by folding the arms back in.
Step 4
Using a pair of scissors, cut the pom-pom following the grove running along the middle of both arms of the pom-pom maker.
Step 5
Cut a length of yarn around 15 cm long and insert it into the grove on the pom-pom maker. Pull the yarn all the way around and tie a double knot as tightly as you can manage – it should disappear inside the grove! Bring the ends back round to the other side and tie another tight knot. Give your pom-pom a trim whilst it is inside the pom-pom maker at this stage, if it needs it.
For really neat pom-poms, give them a trim just before you remove them from the pom-pom maker!
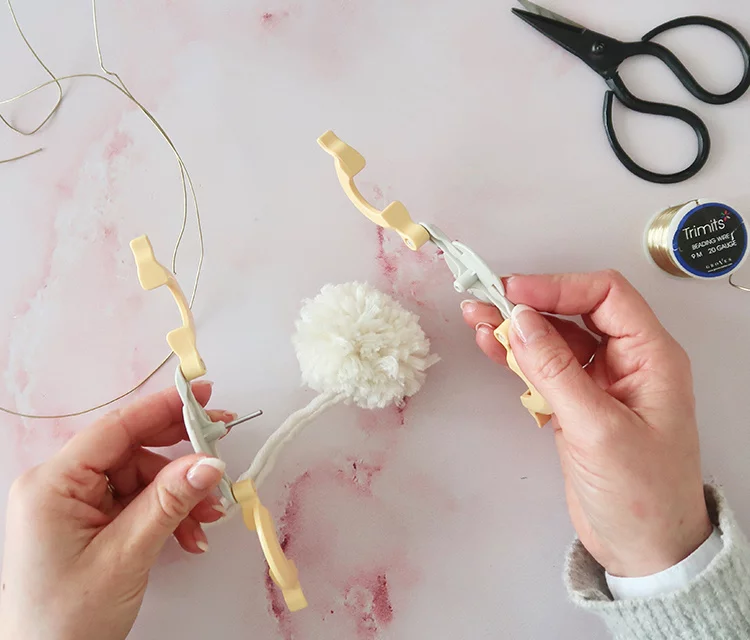
Step 6
To remove the pom-pom from the maker, pull gently on the two sides to open it.
Repeat until you have around 15 pom-poms. Trim down the ties from all the pom-poms until they are the same length as the rest of the pom-poms.
Step 7
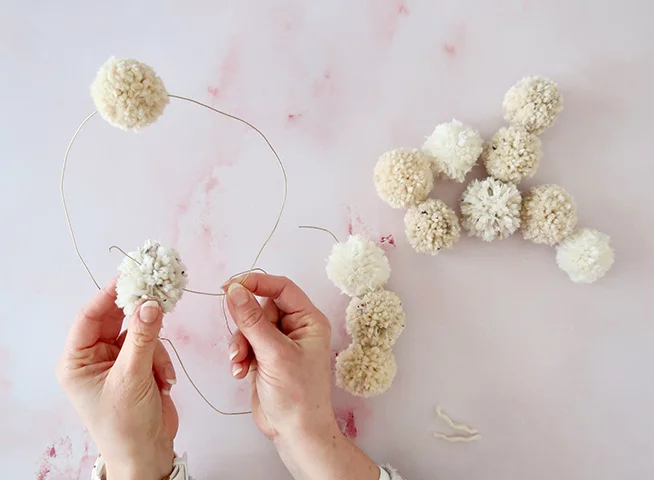
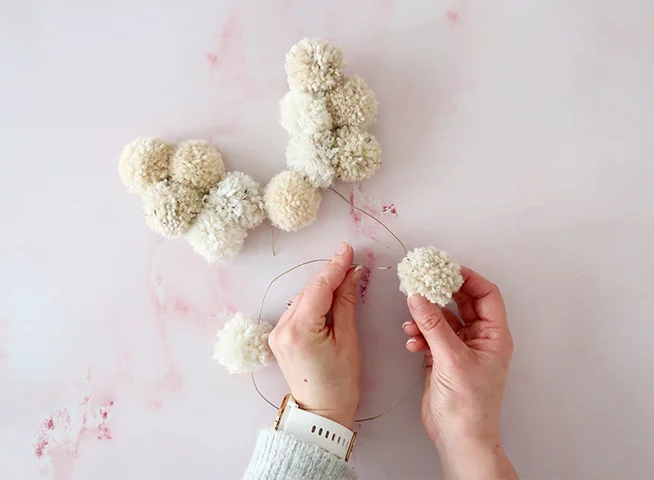
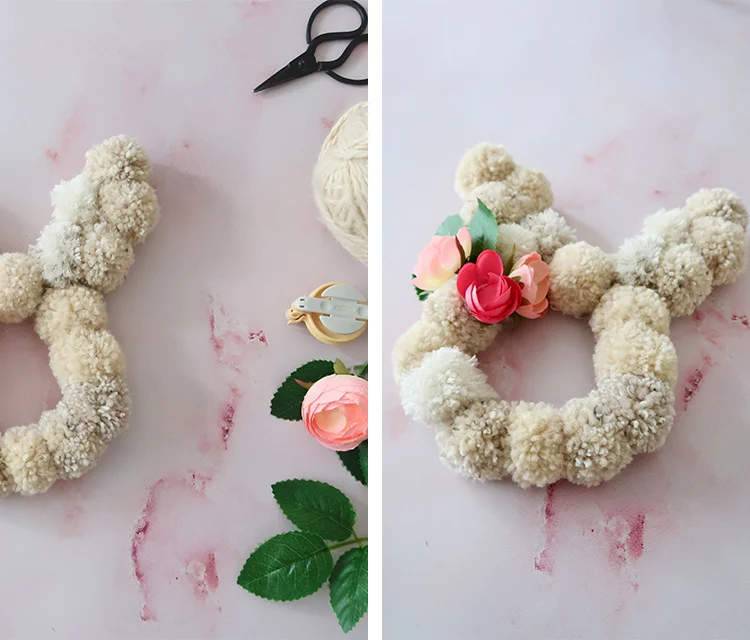
When you’ve made your pom-poms, thread them onto the wire by pushing the wire through the middle of the pom-poms. Allow five pom-poms to sit on each ear, and one in the gap between the ears. Give the ears a twist at the base of each ear when full to secure the ears and shape them.
Step 8
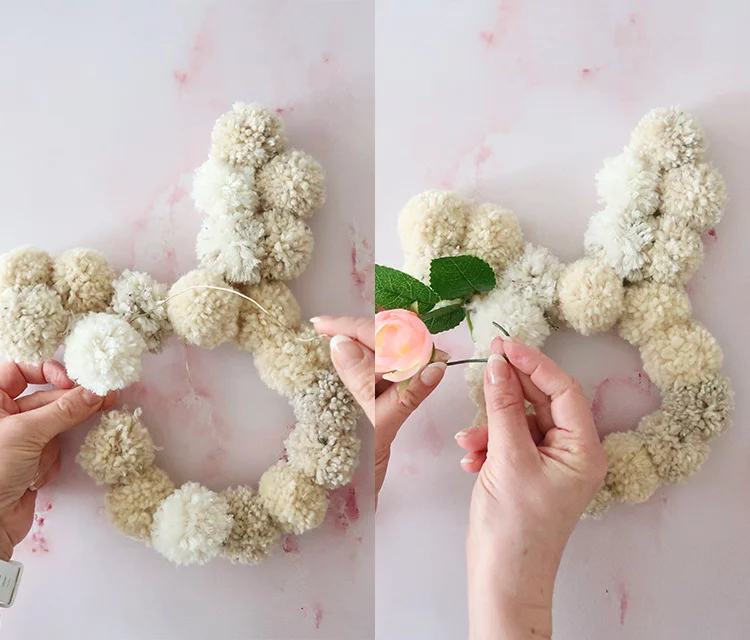
Thread the remaining pom-poms onto the wire around the circle/face of the bunny until it's nicely full, with no gaps, and around 5 cm of wire remains at the end.
Step 9
To secure the end of the wire, pass the remaining 5 cm through the middle of the closest ear, and twist together with the opposite end of the wire a few times to fasten. Reshape your bunny wire a little at this stage if it needs it.
Step 10
Select a sprig of dried or faux foliage and attach to the wreath at the bottom of one ear using a small length or wire (or glue if you prefer). Do the same with a few flowers — I suggest three for a pleasing balance! Check any ends of wire are out of the way or hidden by pom-poms, and your bunny wreath is complete.
Spring-Ready Outfits
Every little Easter bunny needs a special little outfit and the accessories to match, and we've got just the thing . . .
